Hello and welcome to post #7 of my blog on building a custom in-car computer system. In the last post I discussed the different types of software used to give the computer various abilities to meet the requirements I set in post #1. This post will cover the software configuration of the touchscreen and optimizing the computer for in car-use.
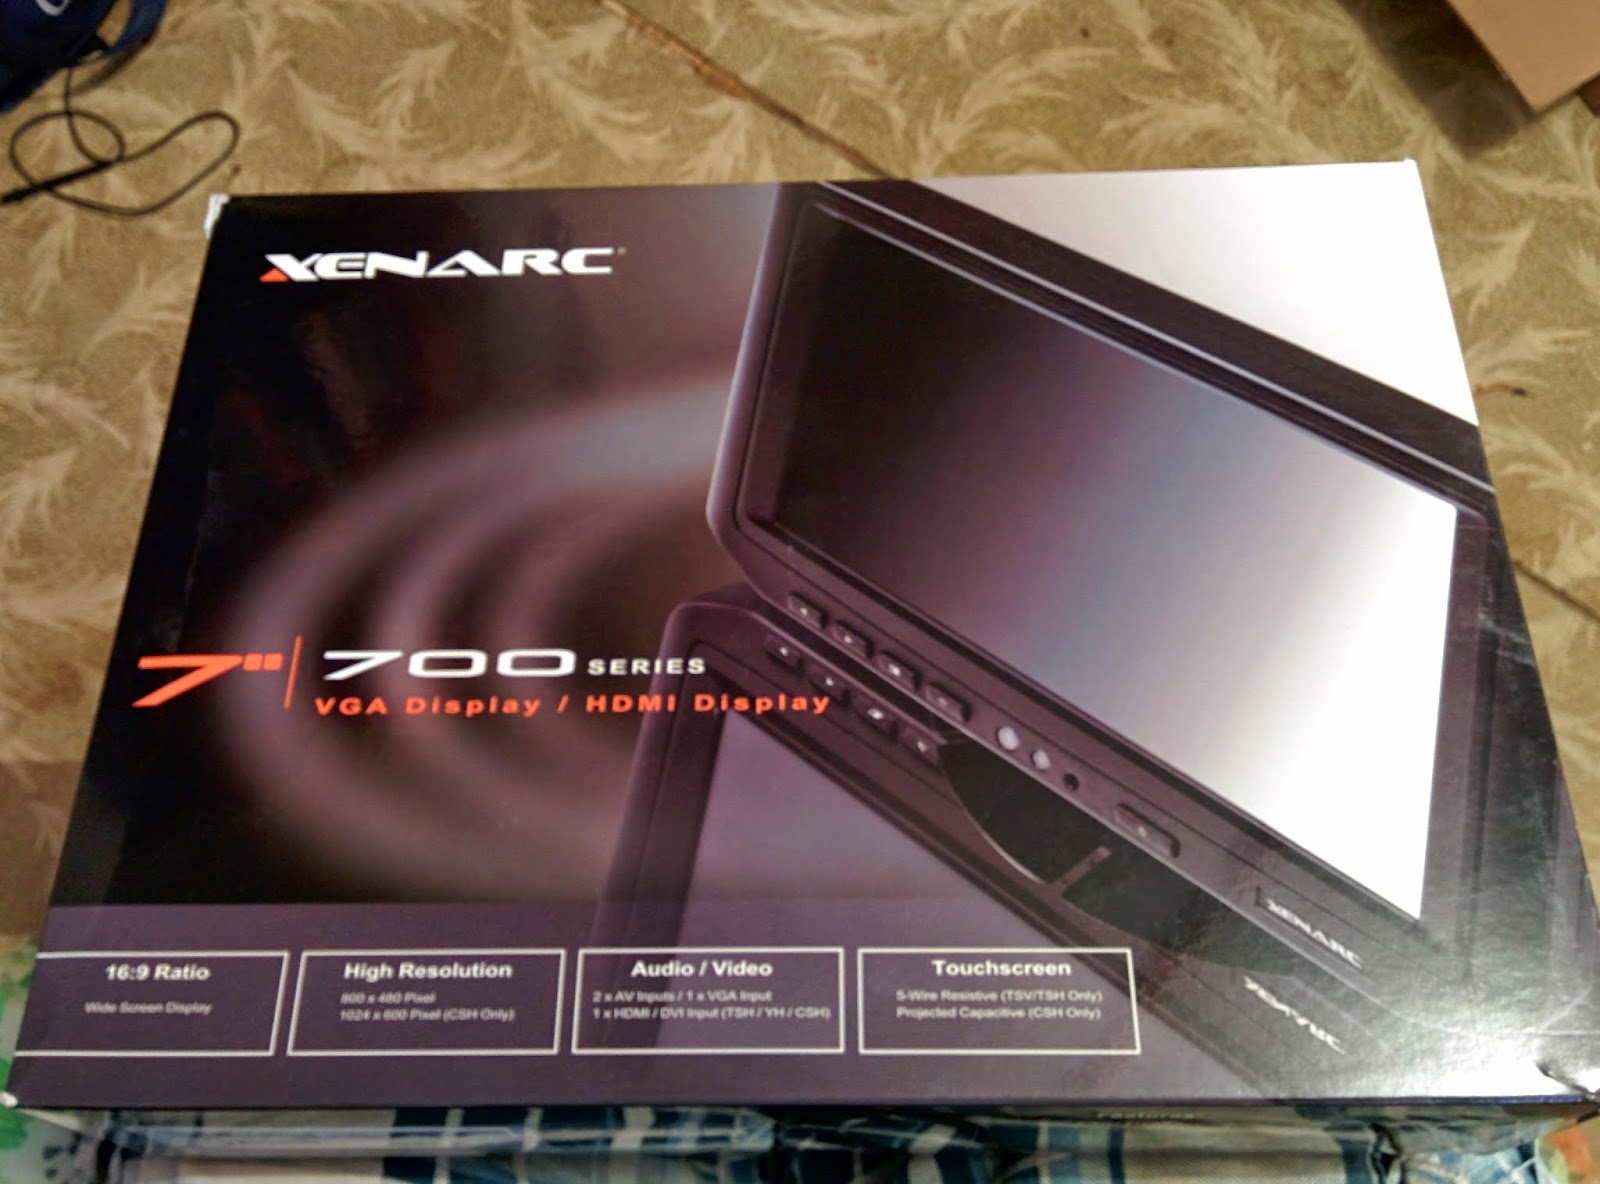
Good news, yesterday the touchscreen arrived!

 |
| For more specs see the link in the text above |
 |
| Front view of the screen, the three round holes in the lower center area are for the IR remote control, ambient light sensor and power indicator LED, respectively. |
 |
| Rear view of the screen with the supplied malleable copper base attached. on the lower left you can see the area where the proprietary multi plug for the inputs and outputs goes, and the hole for the power connector. |
 |
| Other end of the main wiring harness plug. the connectors are: 3.5mm (for carrying audio to the inbuilt speaker), two RCA video plugs, an RCA audio plug (for mono audio), USB (for supplying the touch screen signal to the PC), HDMI and VGA. If I had a bone to pick with this layout it would be that there were no dust-caps supplied for the plugs that won't be used (Ie everything except HDMI and USB). |
 |
| Testing set-up, the larger monitor in the background is no longer needed |
Adjusting windows to work properly with the display took a little bit of tweaking but overall it was a relatively simple process. Getting the resolution correct was somewhat challenging, as the monitor's native resolution of 1024 by 600 pixels was not supported by the Intel HD graphics chip build into the computer's CPU. However the screen supports many different resolutions, so to work around this I set the resolution to 1920 by 1080 (1080P HD) and then configured windows to have extra large (250%) Windows and text for easy use on the touchscreen. Interestingly when I tested the screen at 1280 by 720p resolution, windows disabled the mobile (RT) apps stating that the resolution was too low to run them. Strange.
I made the mistake of installing the touchscreen's supplied touch driver software, however this was not needed as the driver software (which comes with a fully featured software suite) emulates a USB mouse and therefore Windows would not recognize it as a touchscreen. This meant that all the touch features native to windows 8.1 would not work. To fix this I simply uninstalled the drivers and software suite and let windows automatically install generic drivers. From then on I had full multi touch support and access to the gesture based windows features.
Using the touch screen feels as responsive and smooth as as using a brand new Android or iDevice. Being capacitive, no pressure on the screen is needed to register a touch, and multitouch pinching and zooming works flawlessly. I have no regrets in spending the extra money on this monitor over inferior resistive touchscreen technology though I do believe Xenarc has the monopoly as it was the only capacitive one I could find.
The monitor's built in OSD (on screen display menu) has a few handy features, other than the standard brightness, color & contrast adjustments; you can disable the hardware buttons on the front of the screen, disable the extra (VGA, RCA, ect) Inputs, turn on or off the automatic brightness adjustment, and tweak many other features.
Testing the screen with Google Chrome was a pleasant surprise, as Chrome has inbuilt touch-screen support. Pinch to zoom, forward and back navigation by swiping and easy tab changing are all supported.
 |
| Chrome running on the touchscreen |
To improve its ease of use, I installed an extension called Speed Dial 2. Its basically a replacement homepage that lets you configure it to have links to your favourite websites with large icons (pictured above).

I liked the content on this site. Would like to visit again.
ReplyDeleteCommercial Projector Installation
Commercial Loudspeaker Installation