To start off with I removed the plastic driver's side A-pullar cover and ran a 5M USB 2 extension cable from the car computer down to the lower dashboard above the pedals.
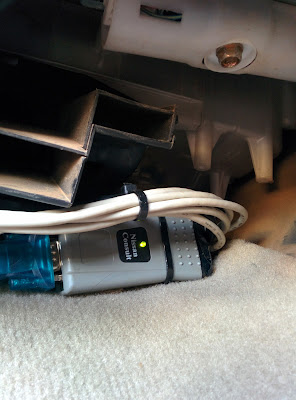
From there I cable tied the OBD2 plug and wires in place, then attached the reader in an out of the way position.
 |
| ECU reader tucked away inside the dashboard |
After that I downloaded ECUTalk onto the computer. From there I found the COM port number (there are several virtual com devices for various accessories) but opening device manager and selected the correct one.
 |
| ECUTalk selection menu |
ECUTalk is almost perfect for my needs, as it is a "one click" solution that automatically displays the gauges after connecting to the ECU.
As mentioned in the previous post, fault codes can also be read and cleared from this program which is really handy.
 |
| My gauges on my Patrol |
That's all for this post, keep reading for future updates. In the future I plan to create a system to automatically synch music and playlists from the NAS on my home network to the car computer. As always, thanks for reading.
No comments:
Post a Comment